Curating submitted data
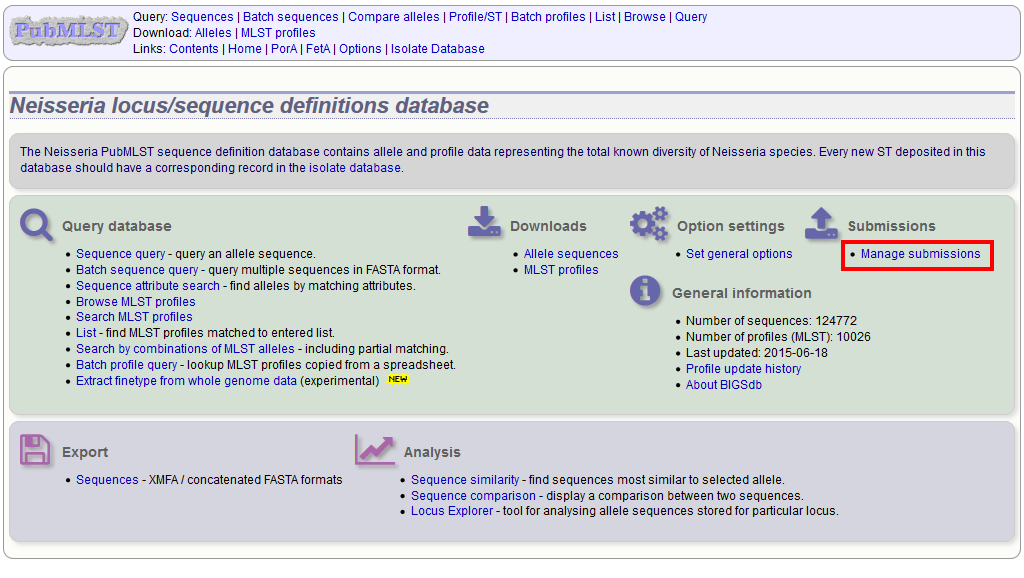
Data may be submitted by users using the automated submission system if it has been enabled for a specific database. As a curator, you will be notified of pending submissions when you log in to the curator’s interface or if you access the ‘Manage submissions’ links from the standard contents page. Additionally, if your user account has the ‘submission_emails’ flag set in the users’ table you will also receive E-mail notification of new submissions for which you have sufficient privileges to curate.
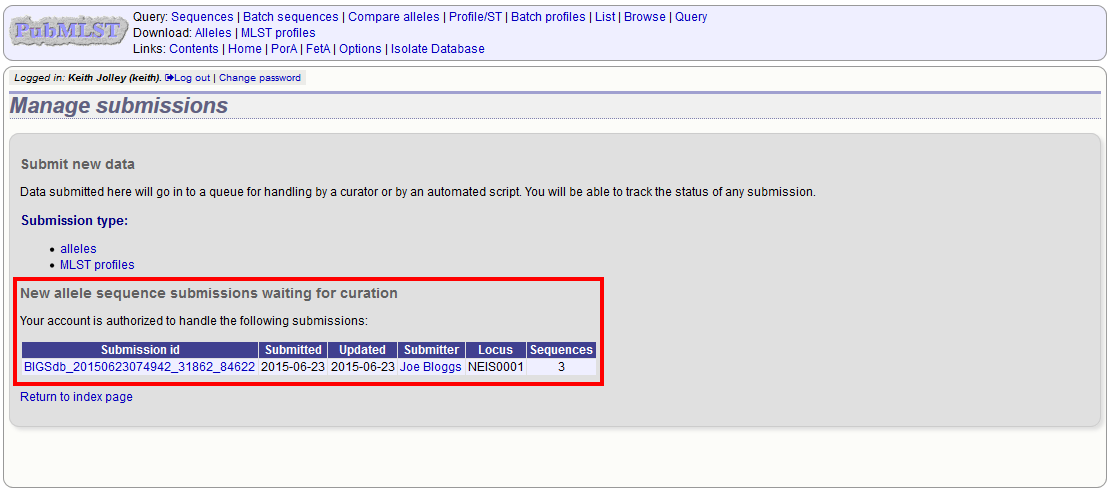
Any submissions for which you have sufficient privileges to curate will be shown.
Alleles
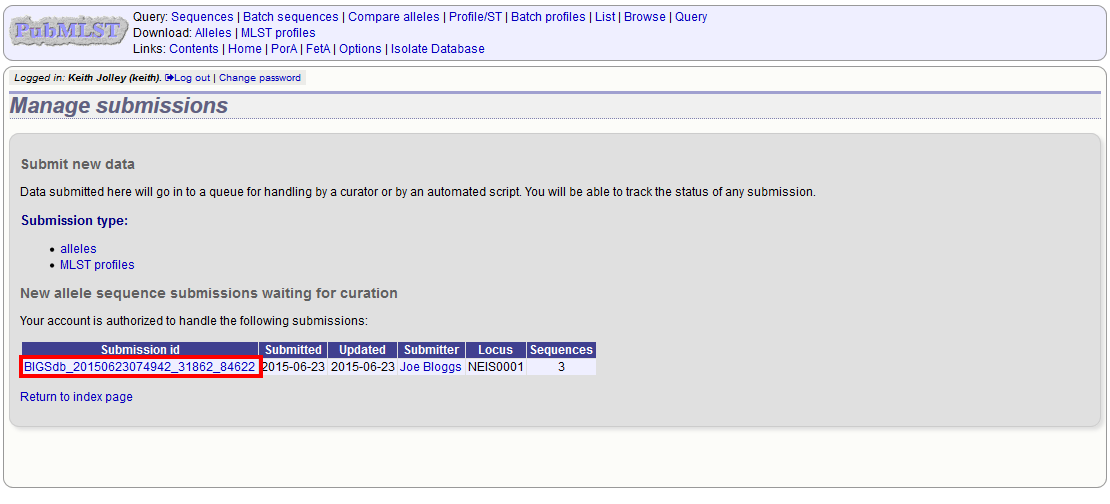
Click the link to the appropriate submission on the ‘Manage submissions’ page.
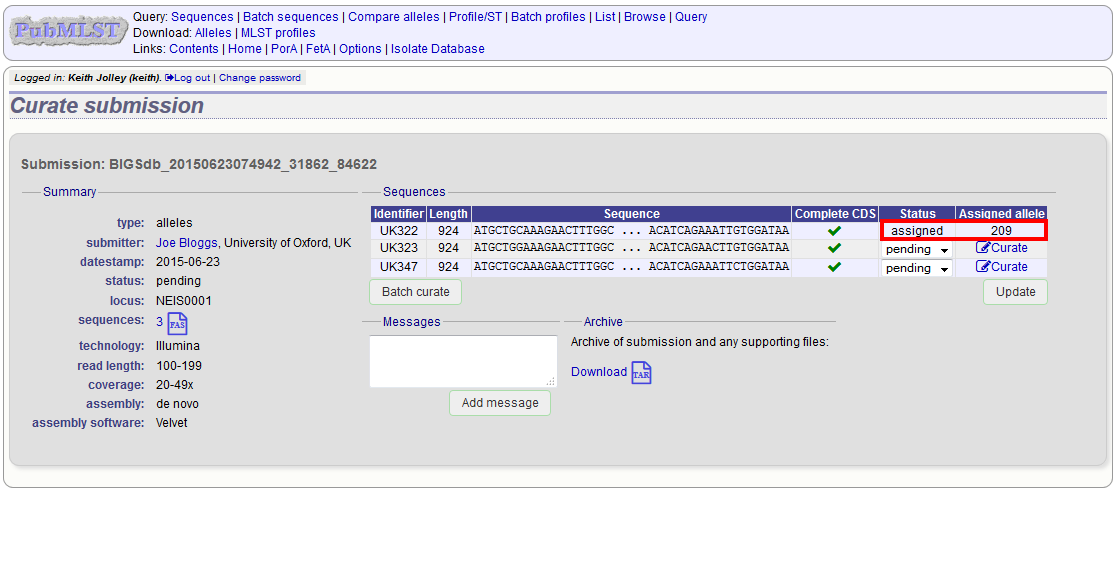
You will see a summary section that describes details about how the sequences were obtained. There should also be link here to download all the sequences in FASTA format.
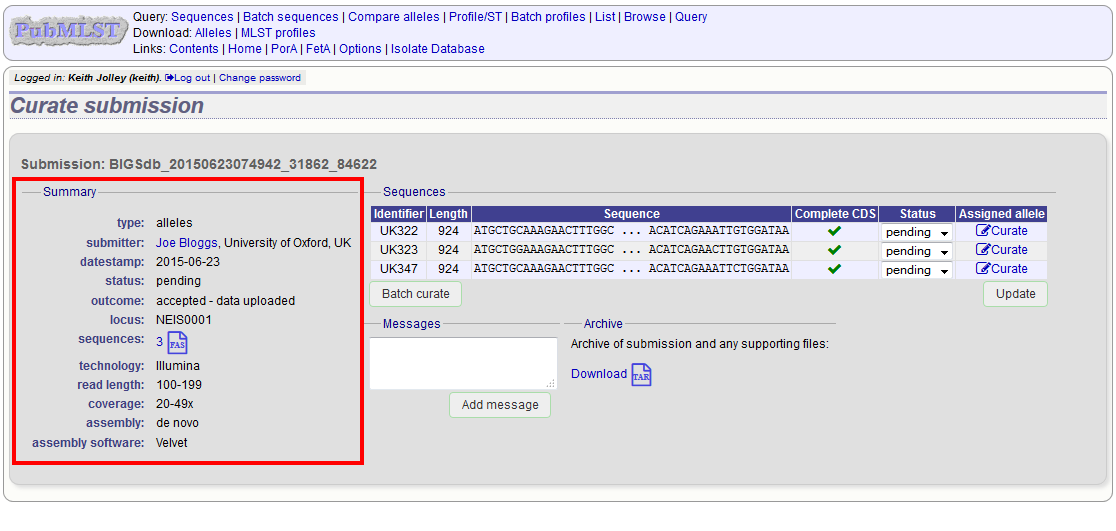
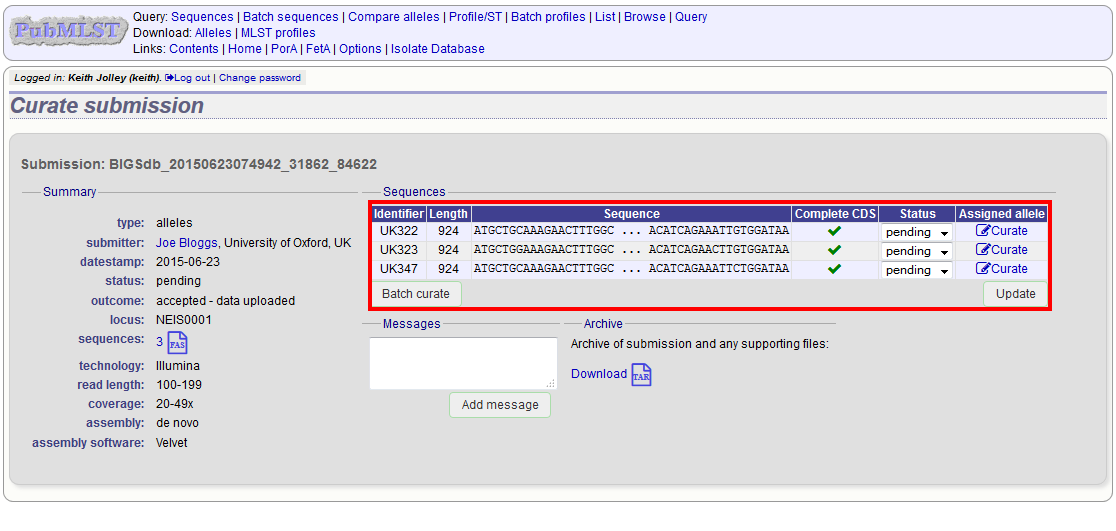
There will also be a table summarizing the sequences in the submission and their current submission status.
Individual allele curation
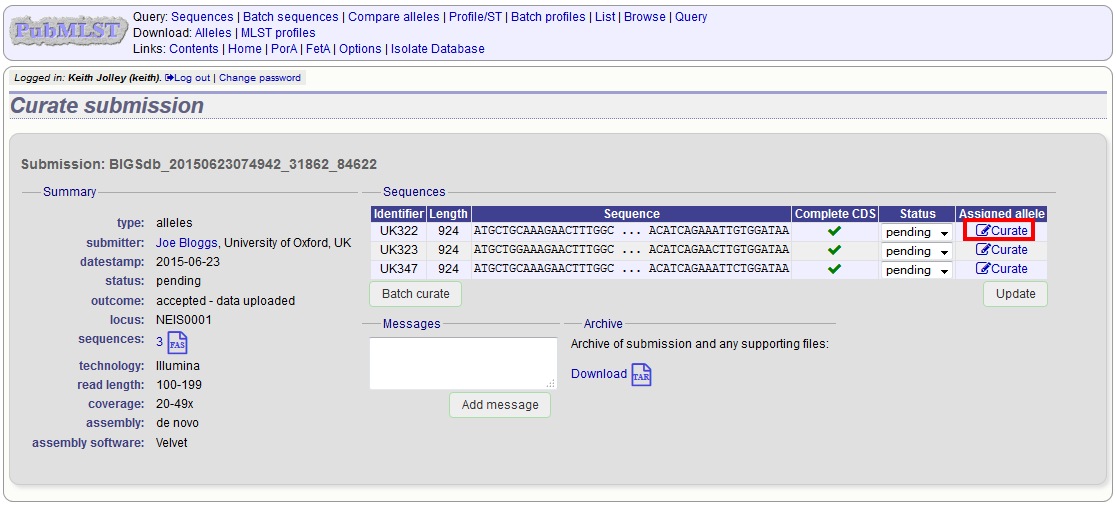
Individual sequences can be curated singly by clicking the ‘Curate’ links next to the sequence in the table. If you have supporting data attached to the submission, e.g. Sanger trace files then you may need to assess the submission based on the policy of the database.
Clicking this link takes you to the curation interface single sequence upload page. The upload form will be filled with details from the submission. You will need to manually set the status from the dropdown list of values.
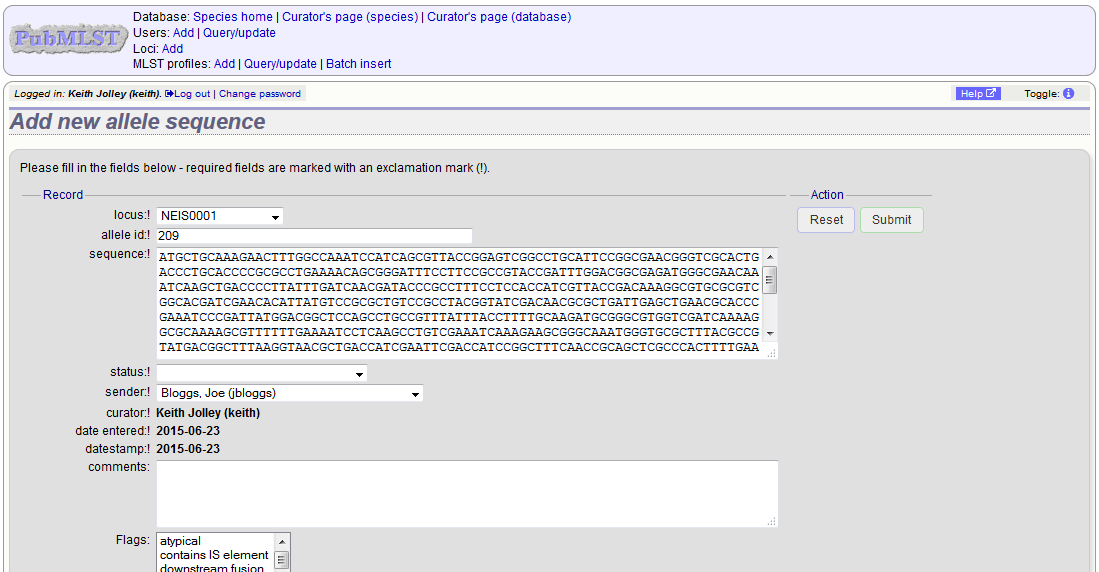
Clicking ‘Submit’ from this form will define the new allele and add it to the database. A link on the confirmation page will take you back to the submission management page.
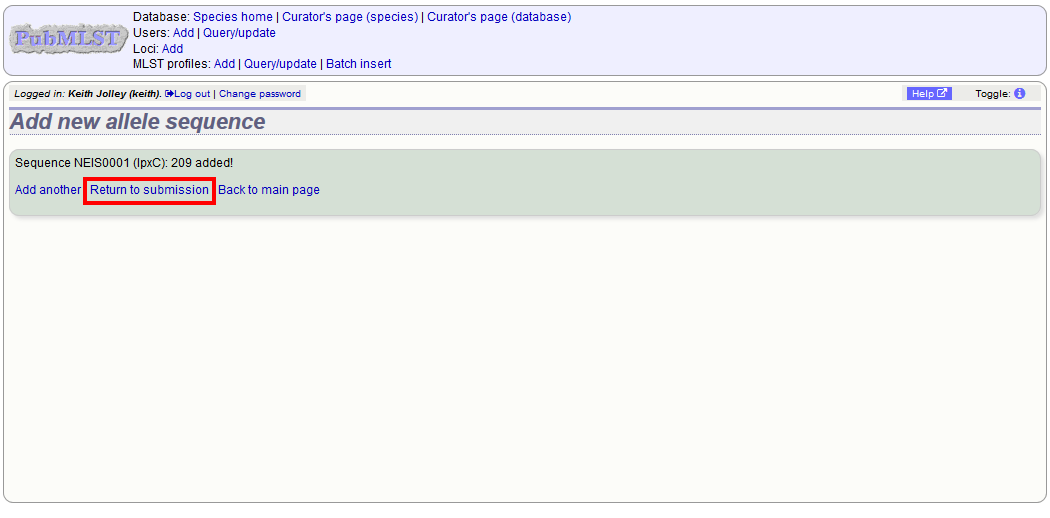
You will find that the status of the newly assigned sequence has changed in the summary table. The assigned value and status are determined on display and should always reflect the live database values.
Batch allele curation
Often, you will want to batch upload submitted sequences. This can be done by clicking the ‘Batch curate’ button.
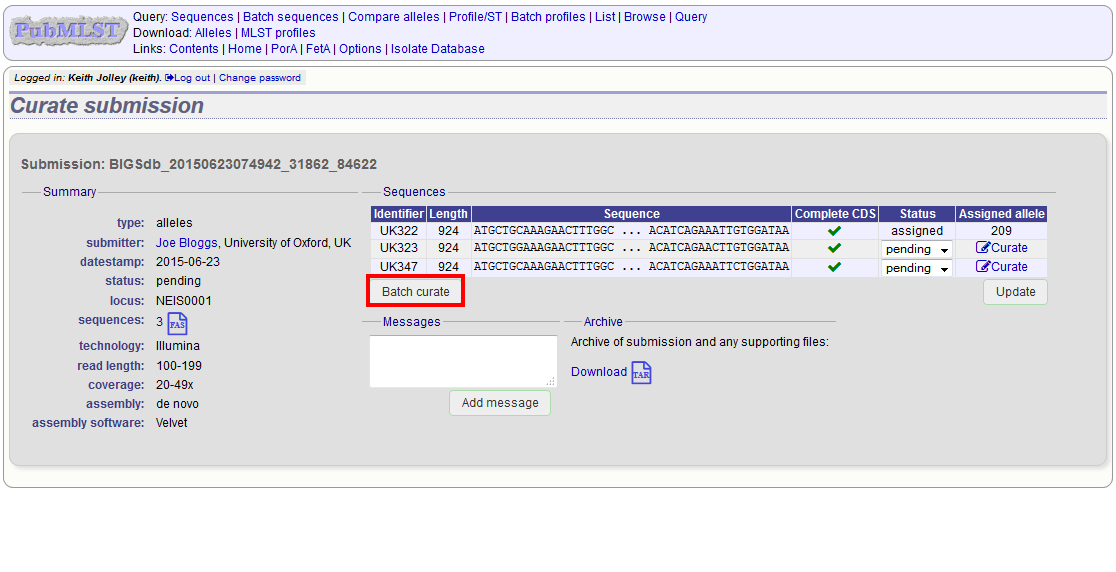
This takes you to the batch FASTA upload page in the curators’ interface.
The upload form will be filled with details from the submission. You will need to manually set the status from the dropdown list of values.

Click ‘Check’ on this form will perform some standard checks before allowing you to upload the sequences.
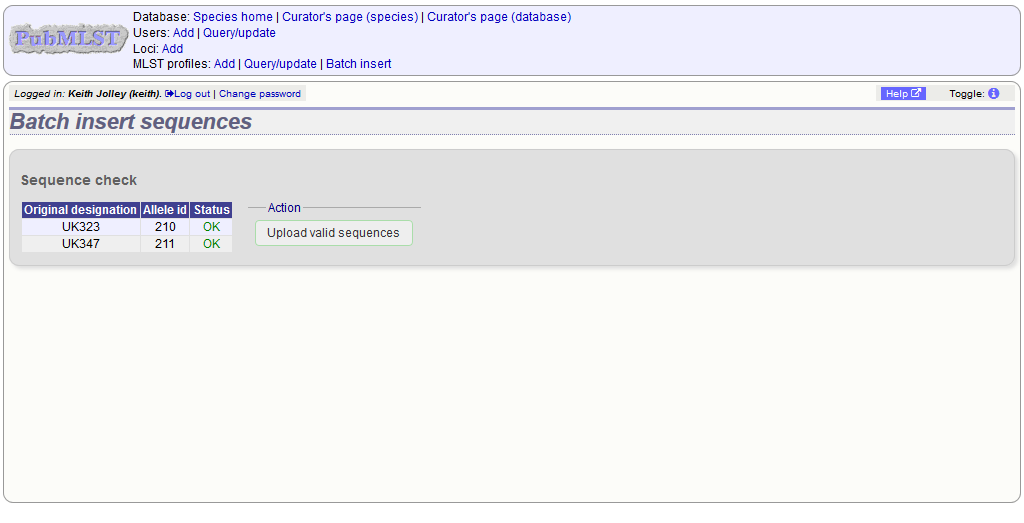
A link on the confirmation page will take you back to the submission management page.
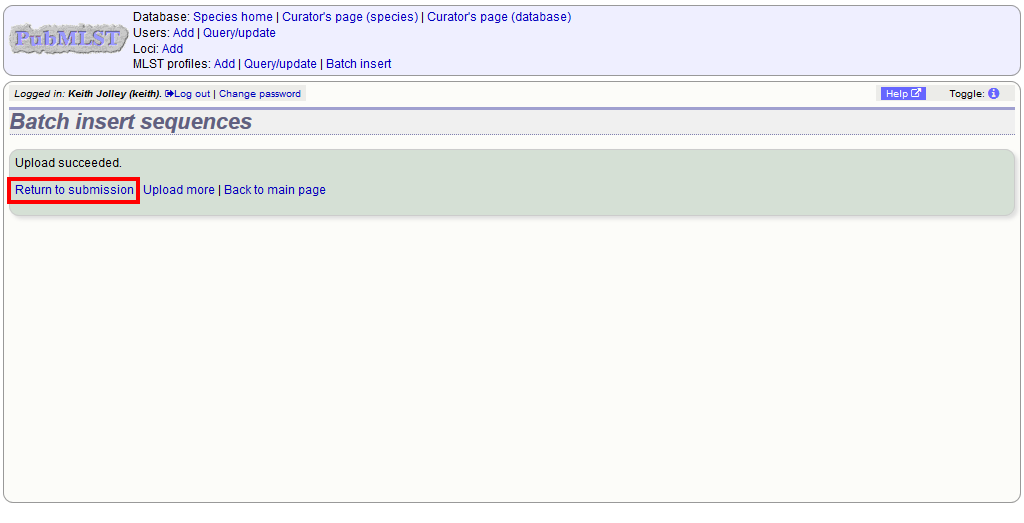
The status of the sequences should reflect their newly assigned status.

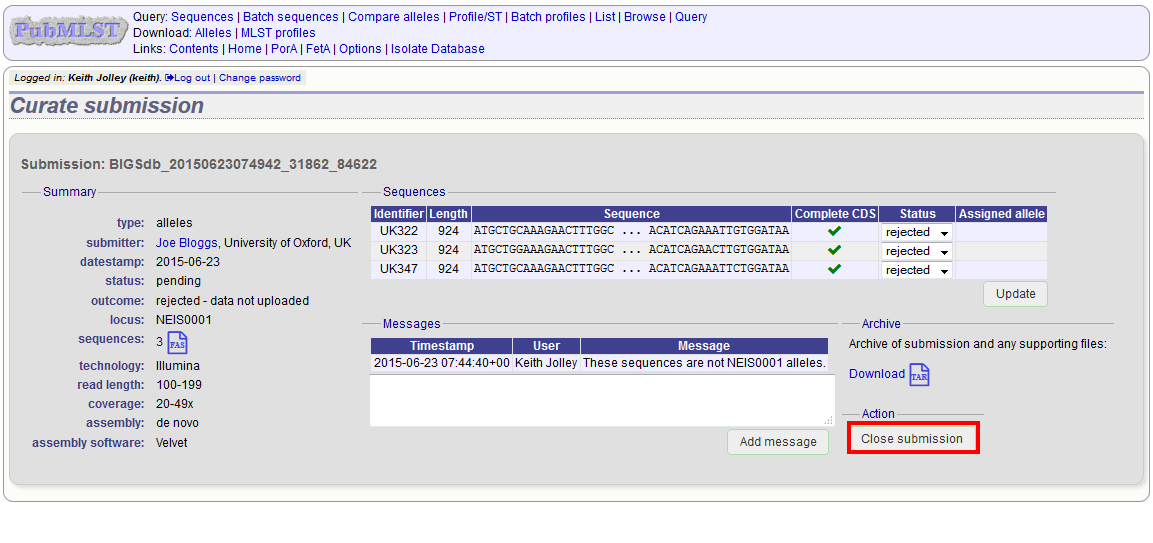
Rejecting sequences
Sometimes you may need to reject all, or some of, the sequences in a submission. You can do this by changing the value in the status dropdown box next to each sequence. Click ‘Update’ to make the change.

Closing the submission
You can add a message to the submitter by entering it in the message box and clicking ‘Add message’. Once sequences have all been either assigned or rejected, the ‘Close submission’ button will be displayed. Click this to close the submission. The submitter will be notified of their submission status.
Profiles
Click the appropriate submission on the ‘Manage submissions’ page.
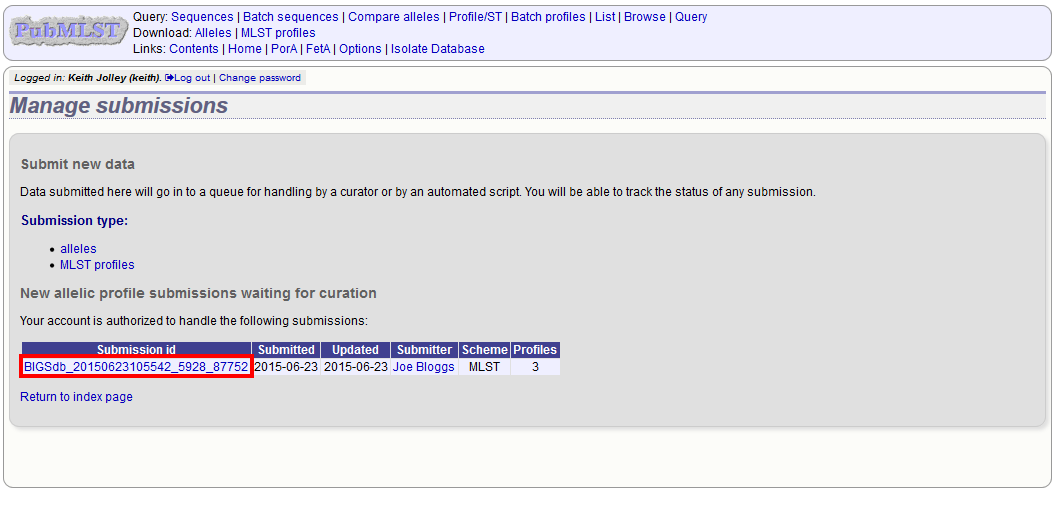
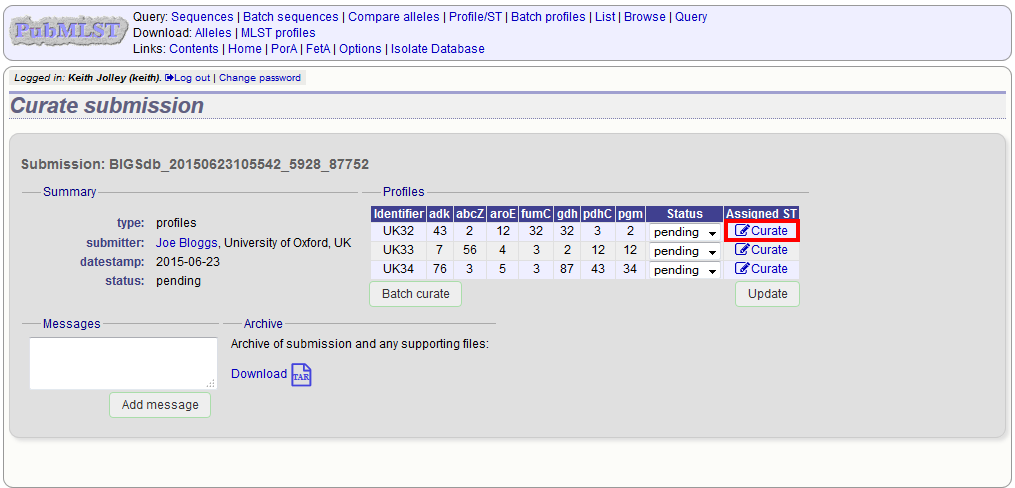
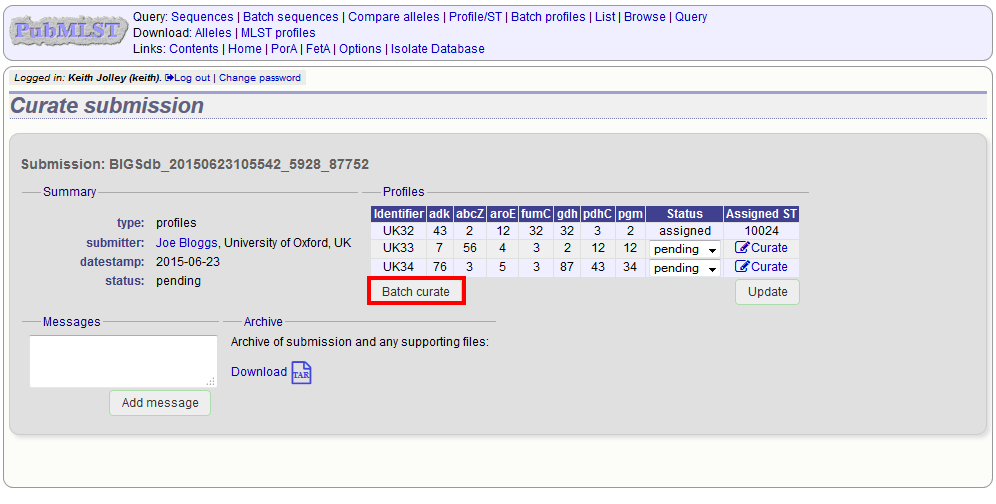
You will see a table summarizing the profiles in the submission and their current status.
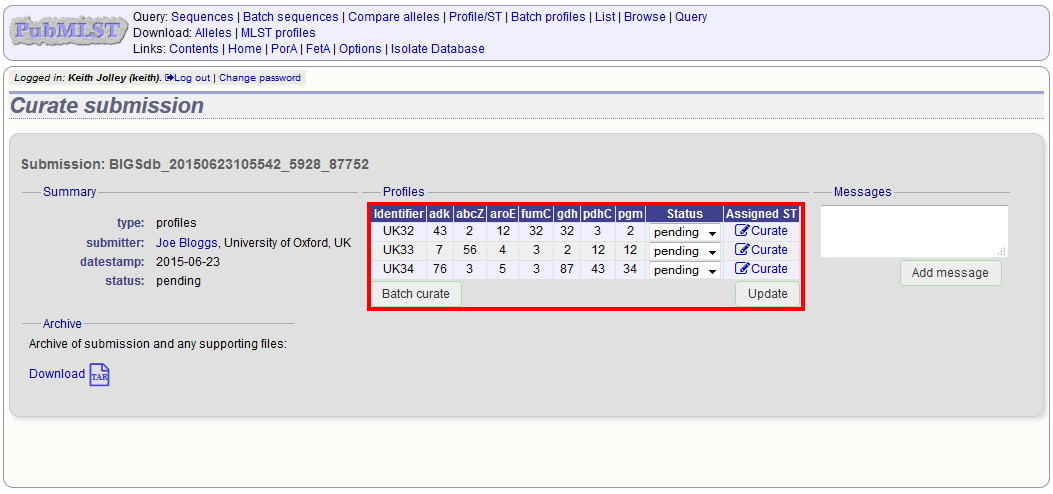
Individual profile curation
Individual profiles can be curated singly by clicking the ‘Curate’ links next to the profile in the table.
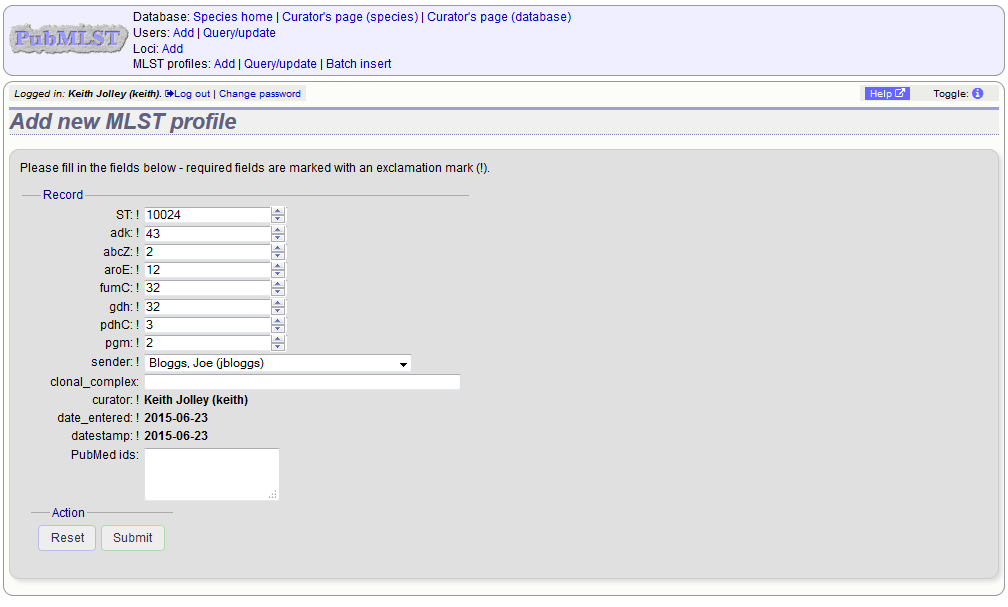
Clicking this link takes you to the curation interface single profile upload page. The upload form will be filled with details from the submission.
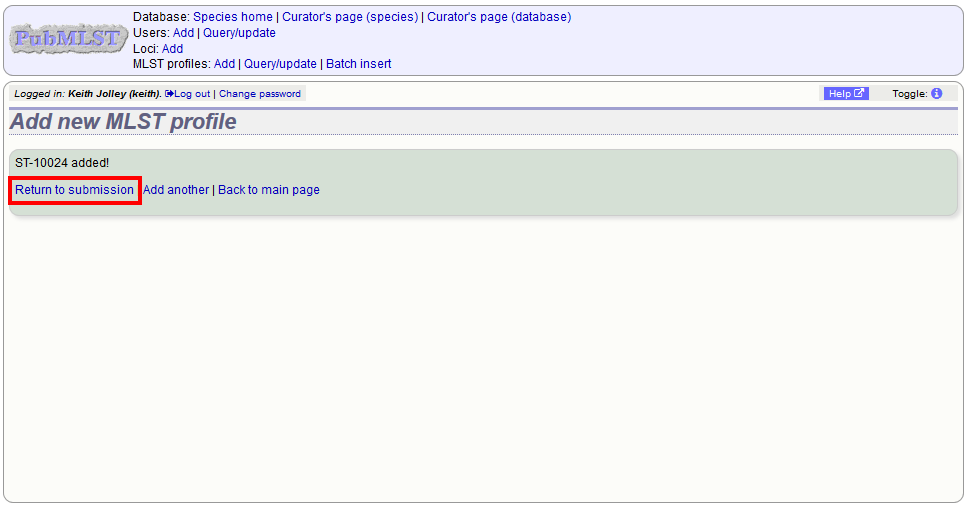
Clicking ‘Submit’ from this form will define the new profile and add it to the database. A link on the confirmation page will take you back to the submission management page.
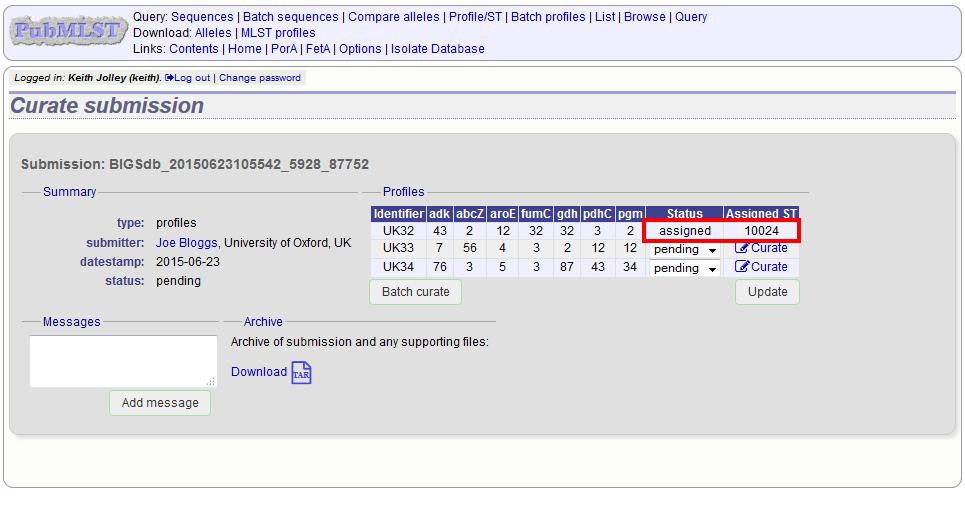
You will find that the status of the newly assigned profile has changed in the summary table. The assigned value and status are determined on display and should always reflect the live database values.
Batch profile curation
Often, you will want to batch upload submitted profiles. This can be done by clicking the ‘Batch curate’ button.
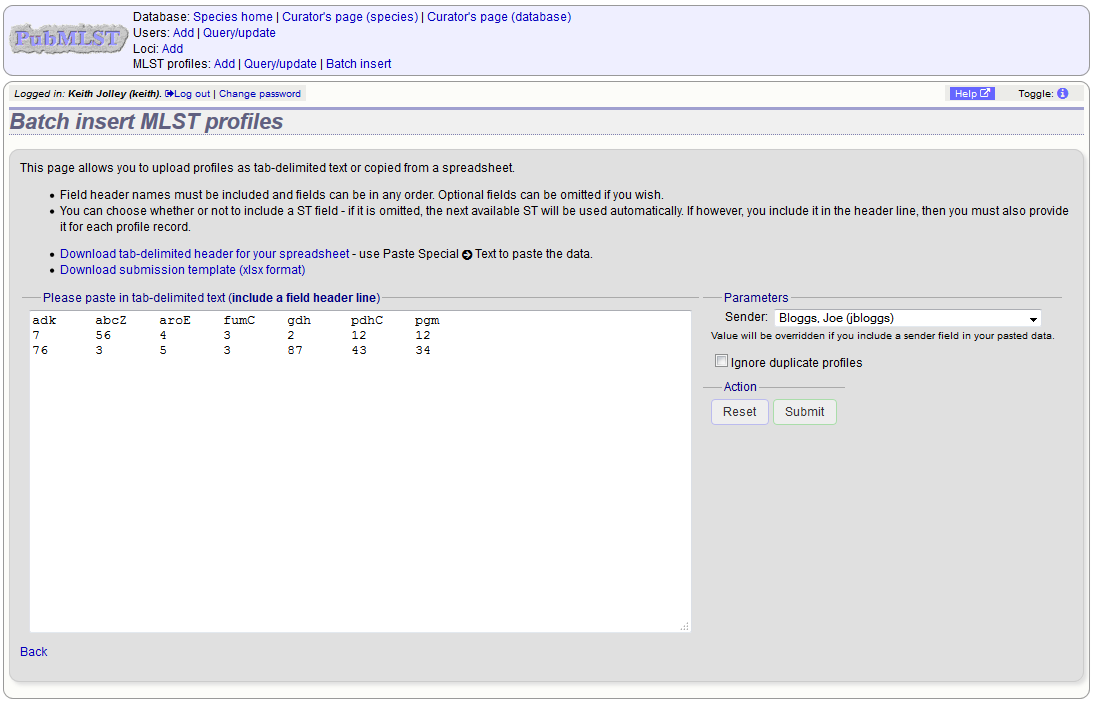
This takes you to the batch profile upload page in the curators’ interface.
The upload form will be filled with details from the submission.
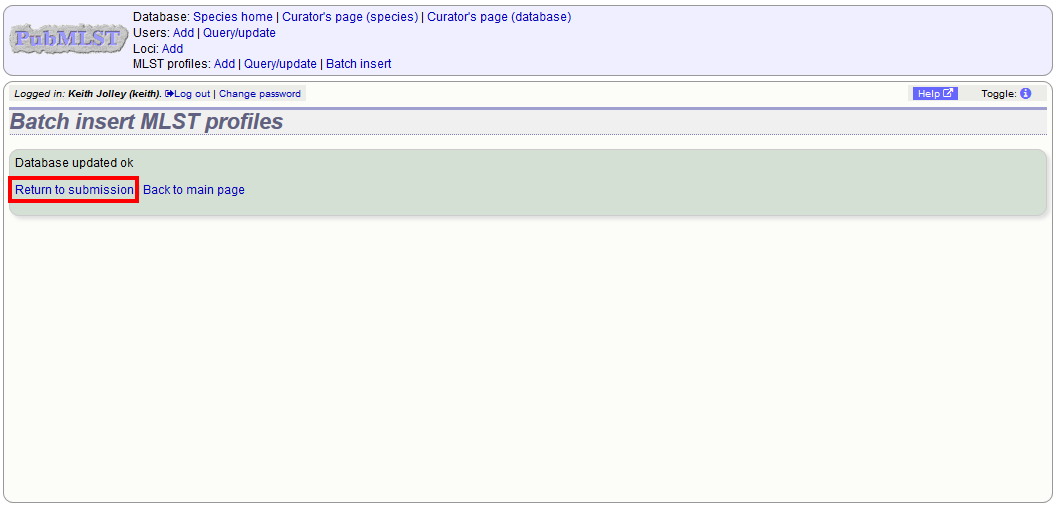
After upload, a link on the confirmation page leads back to the submission management page.
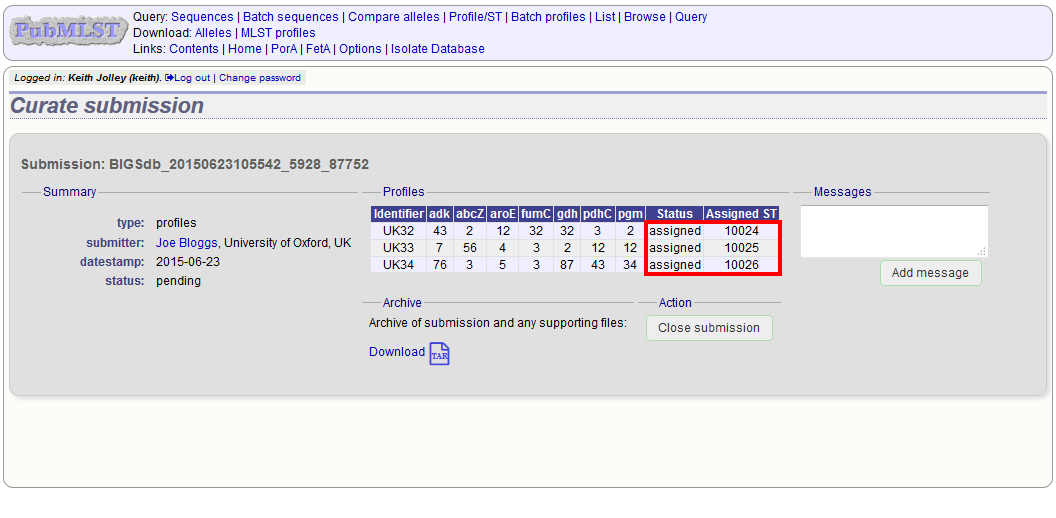
The status of the profiles should reflect their newly assigned status.
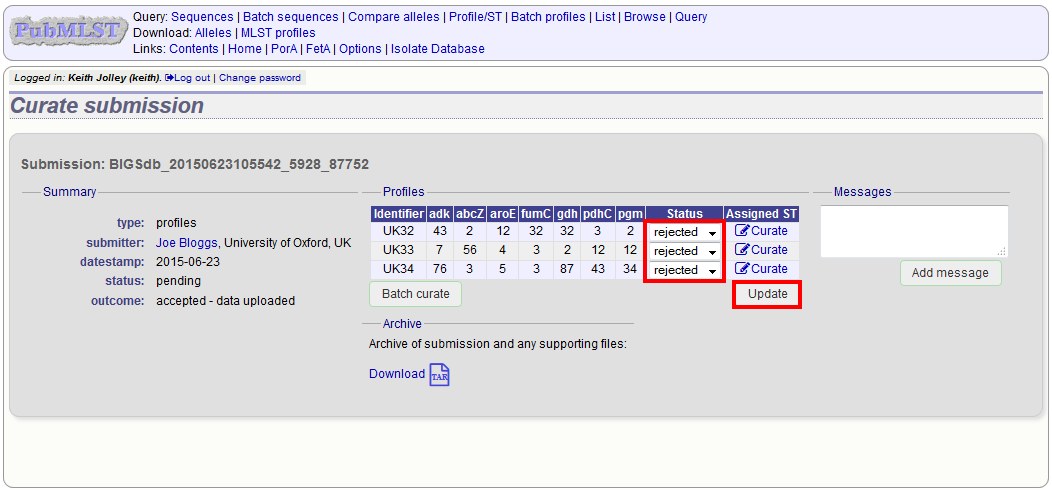
Rejecting profiles
Sometimes you may need to reject all, or some of, the profiles in the submission. This may be because isolate data had not been made available, against the policy of the database. You can do this by changing the value in the status dropdown box next to each profile. Click ‘Update’ to make the change.
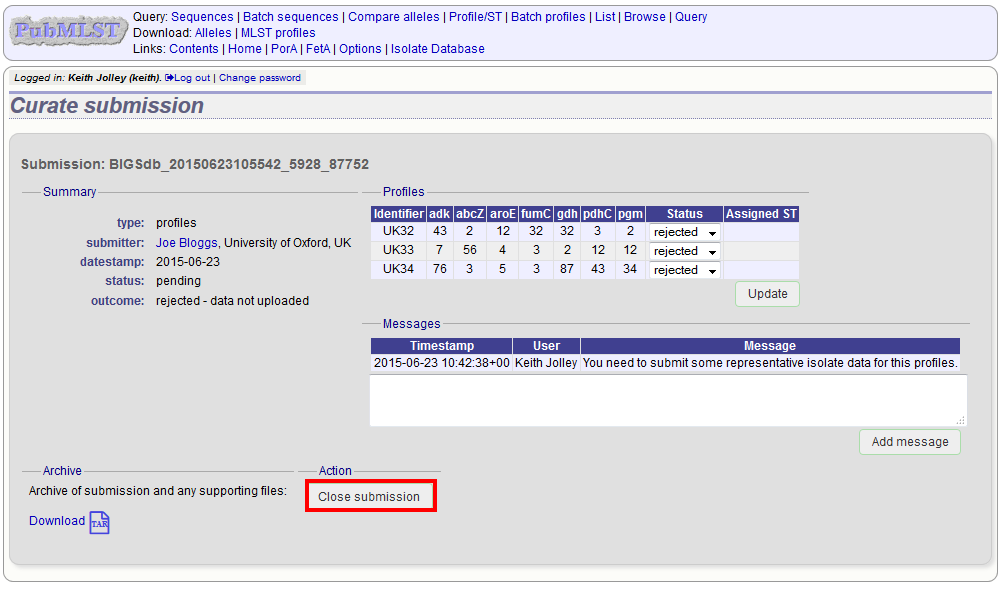
Closing the submission
You can add a message to the submitter by entering it in the message box and clicking ‘Add message’. Once profiles have all been either assigned or rejected, the ‘Close submission’ button will be displayed. Click this to close the submission. The submitter will be notified of their submission status.
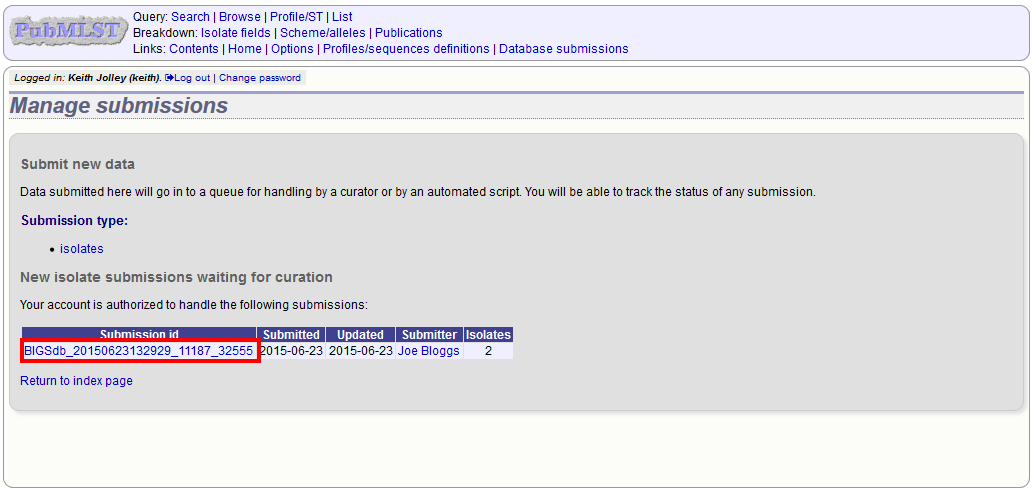
Isolates
Clicking the appropriate submission on the ‘Manage submissions’ page.
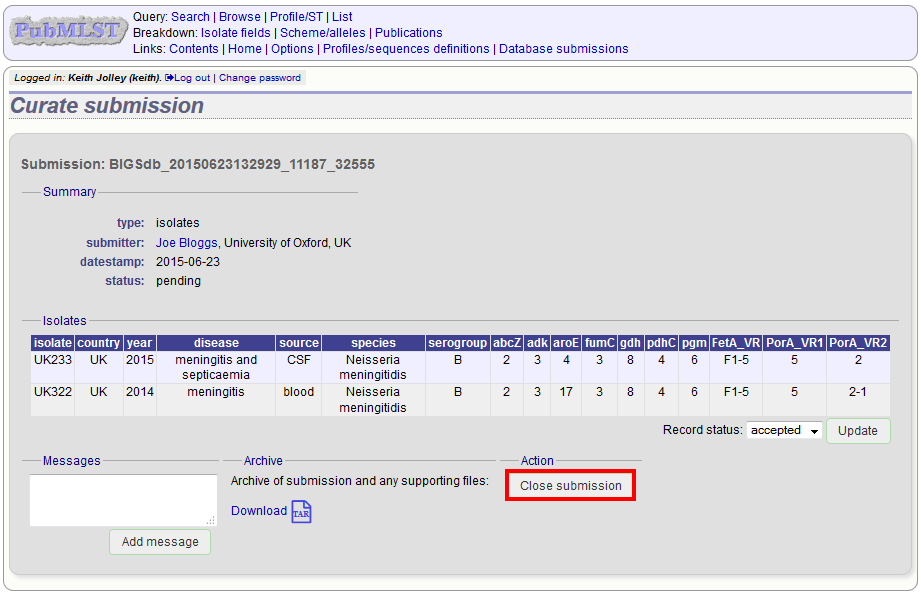
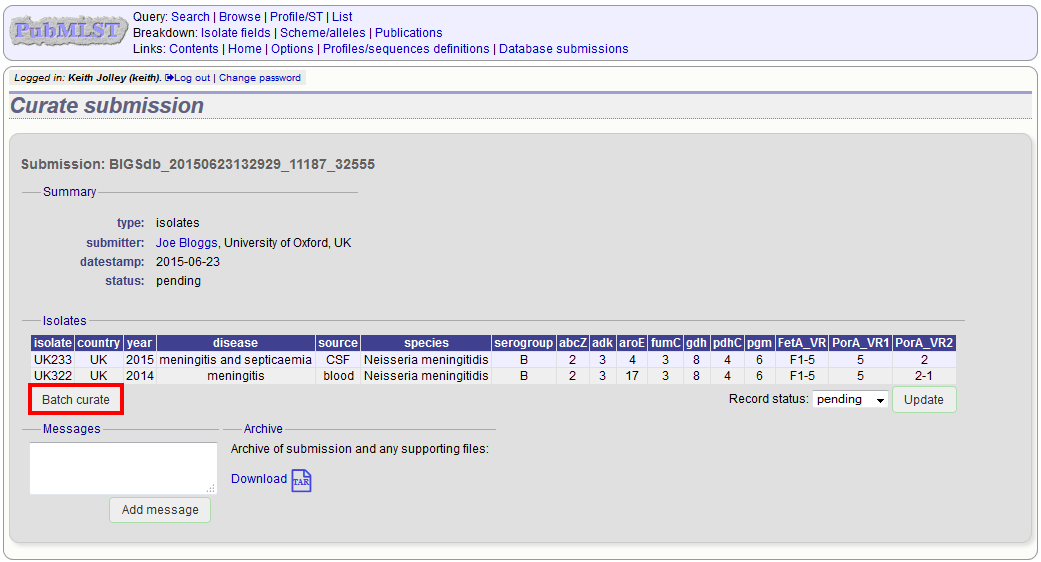
You will see a table summarizing the submission.
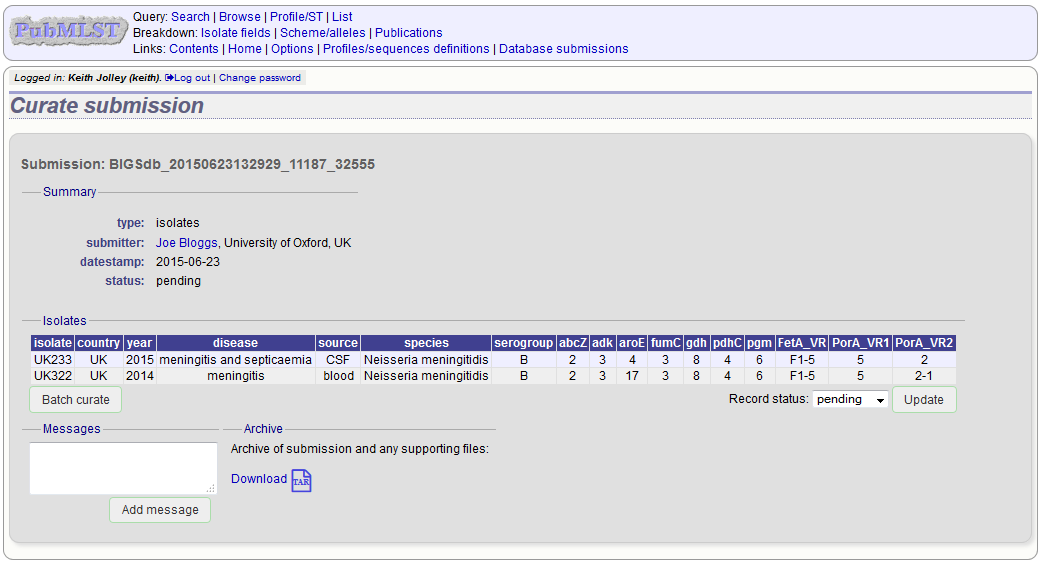
Click the ‘Batch curate’ button.
This will take you to the batch isolate upload page in the curators’ interface.
The upload form will be filled with details from the submission.

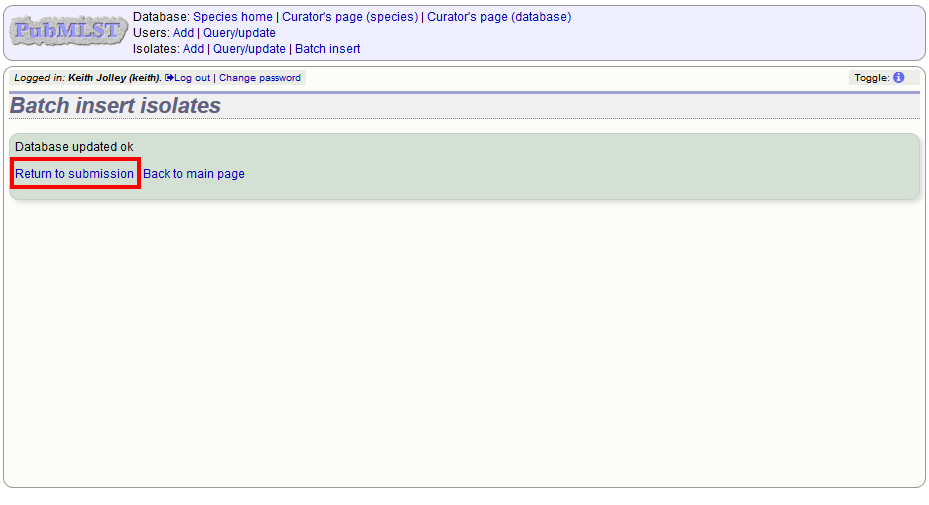
Click submit to check and then import if there are no errors.
After upload, a link on the confirmation page leads back to the submission management page.
Closing the submission
You can add a message to the submitter by entering it in the message box and clicking ‘Add message’. Change the record status to either ‘accepted’ or ‘rejected’ depending on whether you have accepted the submission. Click ‘Update’.
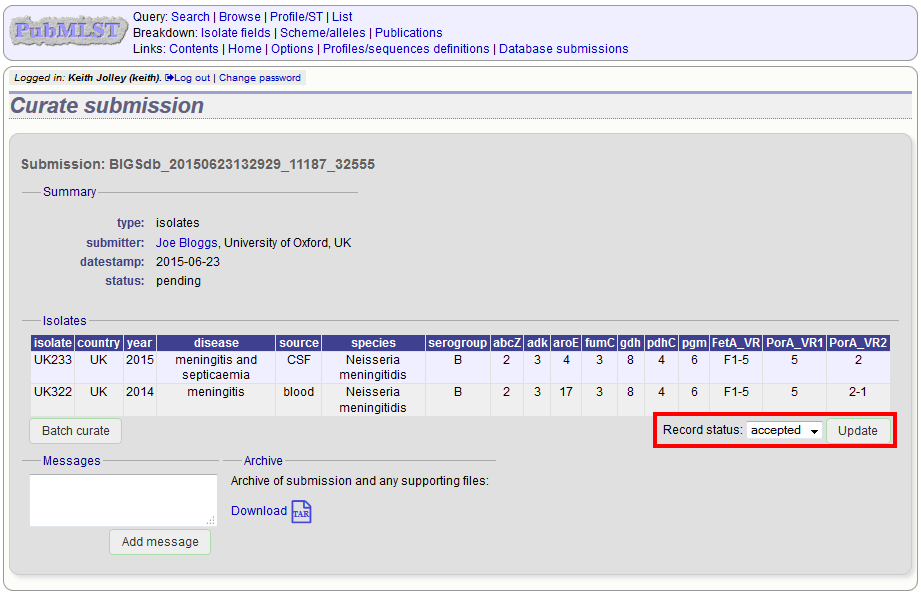
The ‘Close submission’ button will now appear. Click this to close the submission. The submitter will be notified of their submission status.