Private records
Users with a status of ‘submitter’, ‘curator’, or ‘admin’ can upload private isolate records that will be hidden from public view. A quota needs to be set for the user by an admin before they are able to do this.
Uploading private records
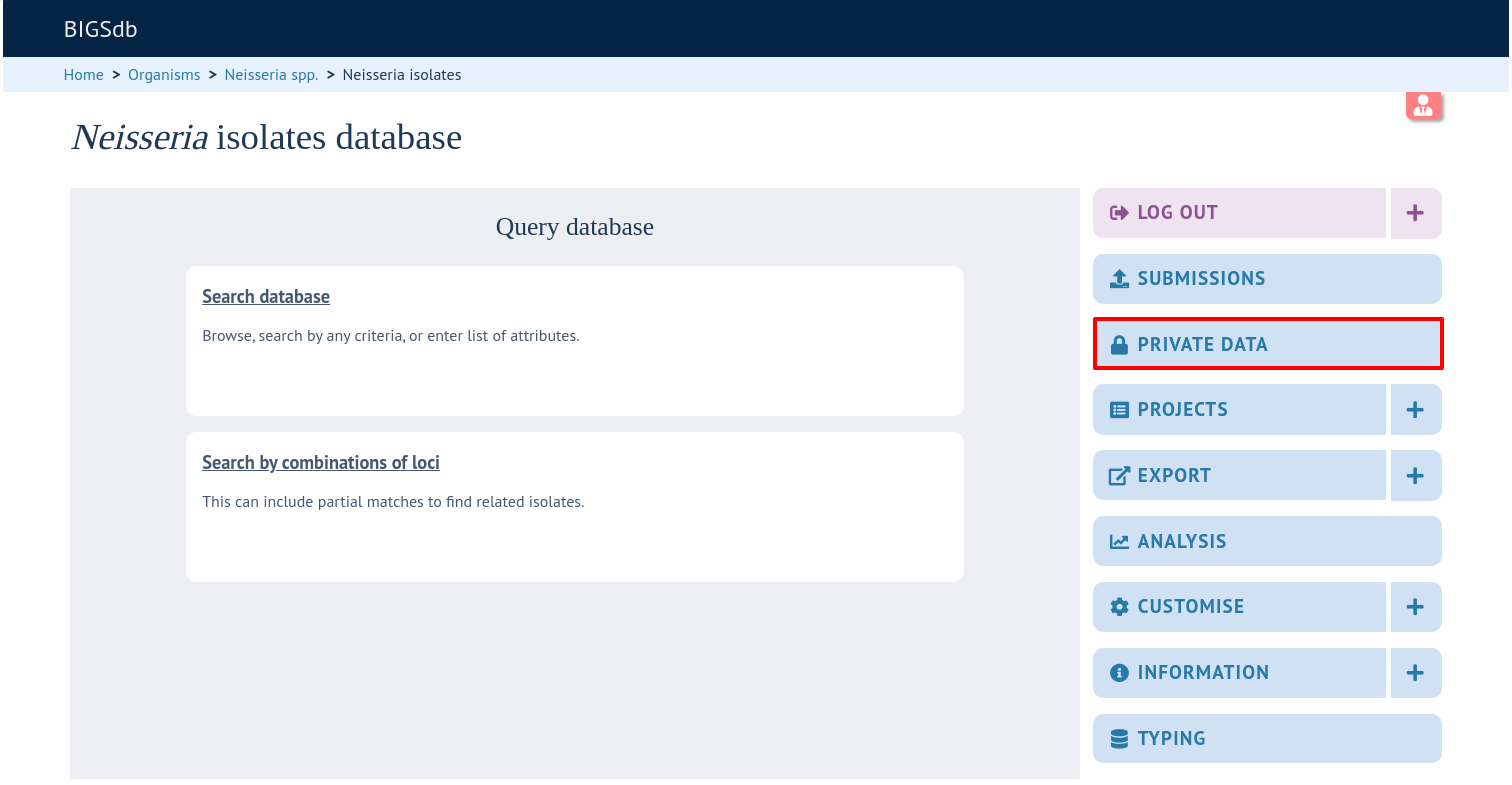
In order to upload private records, you need to make sure that you are logged in. If your account has a quota, there will be a menu item called ‘Private data’. Click the ‘Upload/manage records’ link.
You will see an overview of your quota and links to upload and edit your records. Click the ‘Upload private isolate records’ link (assuming you have quota available).
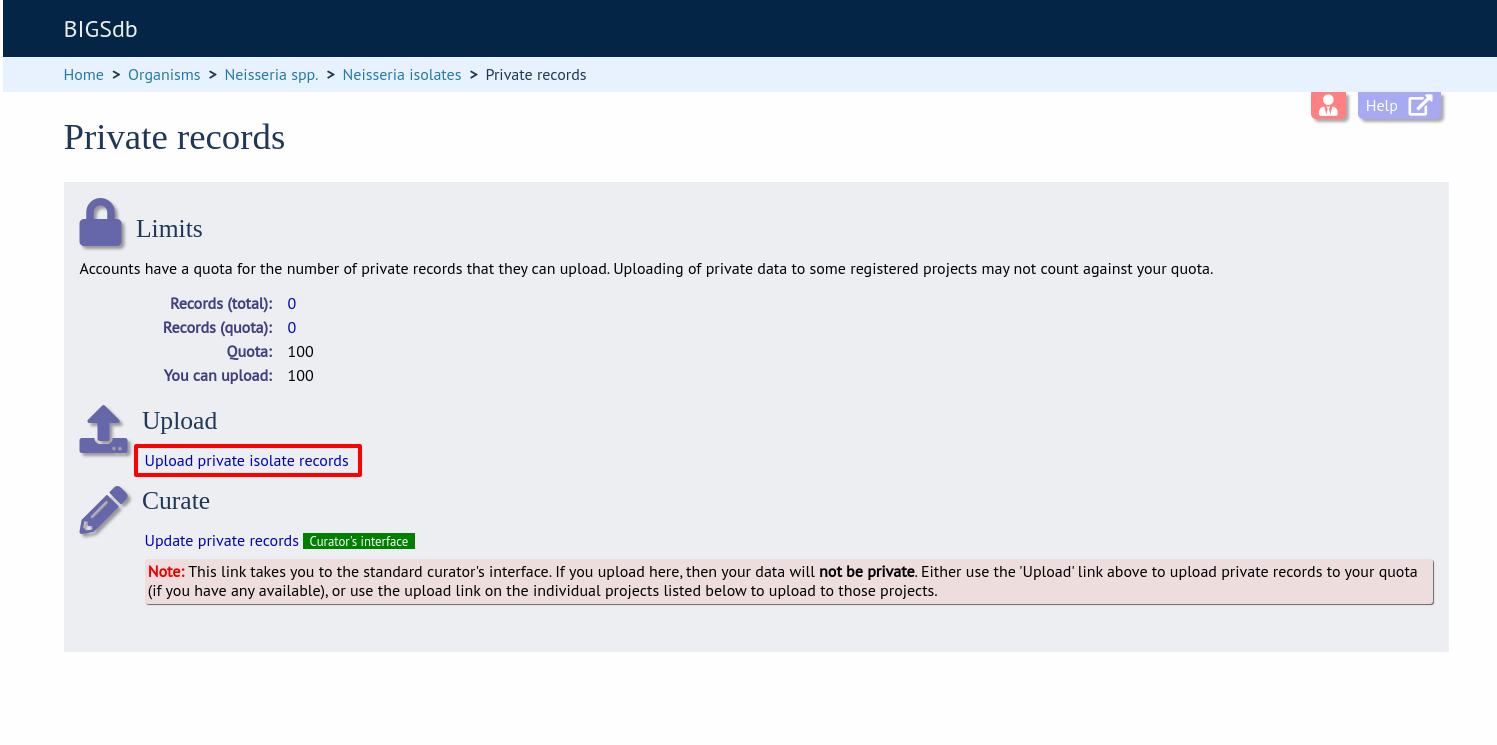
You will then be taken to a curator page that allows you to upload data copy and pasted from a spreadsheet. There is a link to an Excel template that you will need to use to prepare your data - this is the same template used if you were to submit your data to a curator.

See batch adding isolate records for details of the upload process.
Modifying private records
Click the ‘Private data’ link on the contents page.
Now click the ‘Update private records’ link. You will be taken to the curators’ interface, where you will be able to use the standard curator tools.
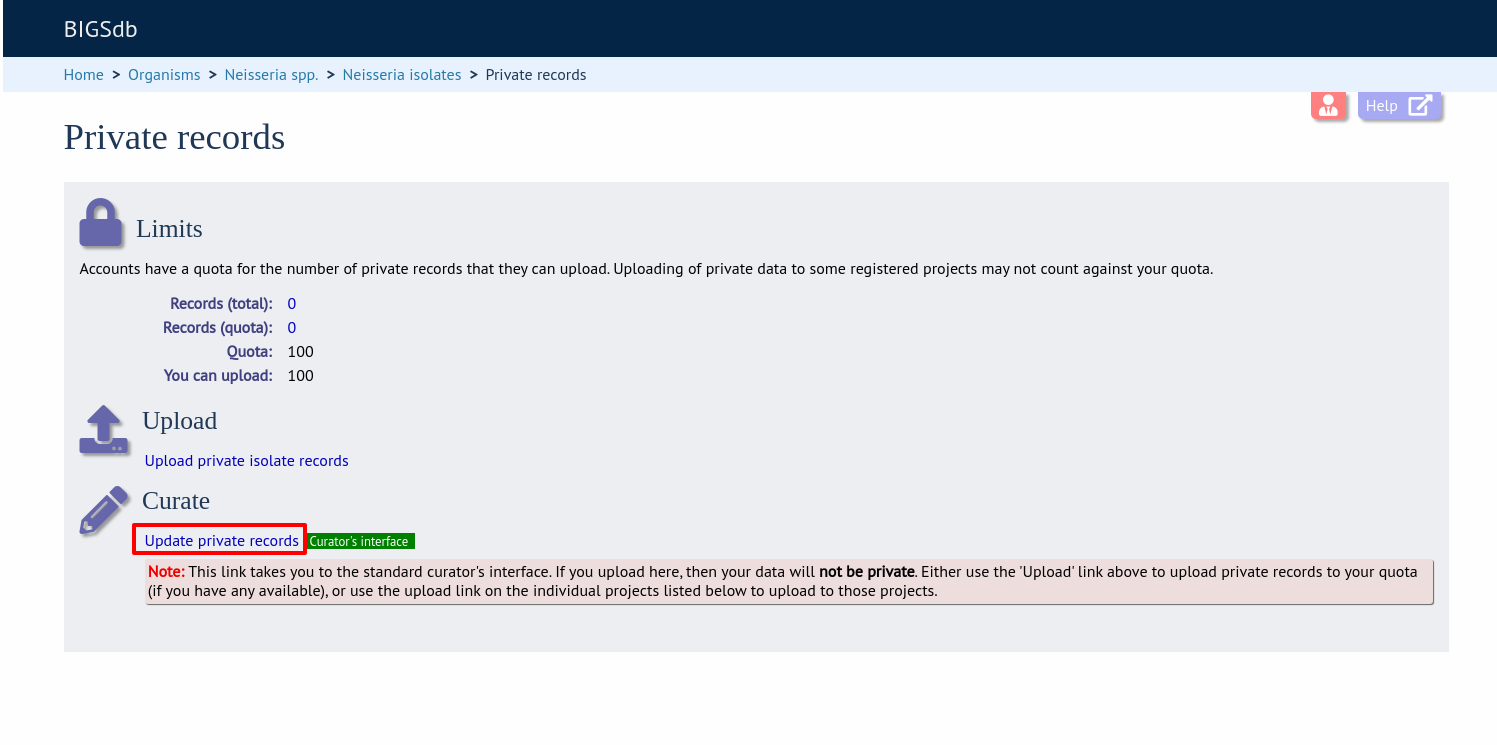
Use the curators’ interface to make any changes to your isolate records, including uploading genome data.