Projects
Creating the project
The first step in grouping by project is to set up a project.
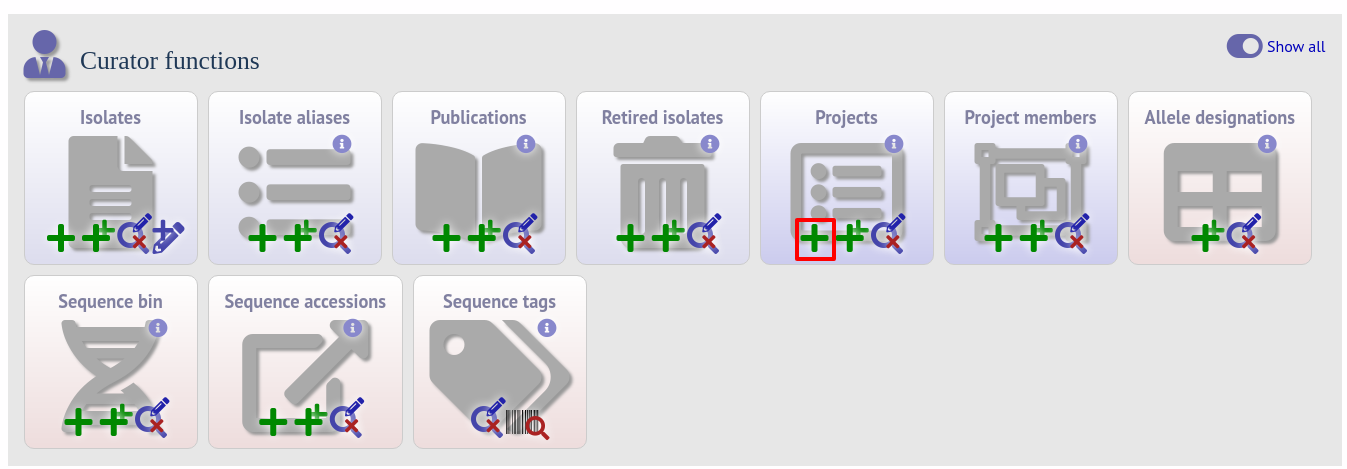
Click the add (+) project link on the curator’s main page. This function is normally hidden, so you may need to click the ‘All functions’ toggle to display it.
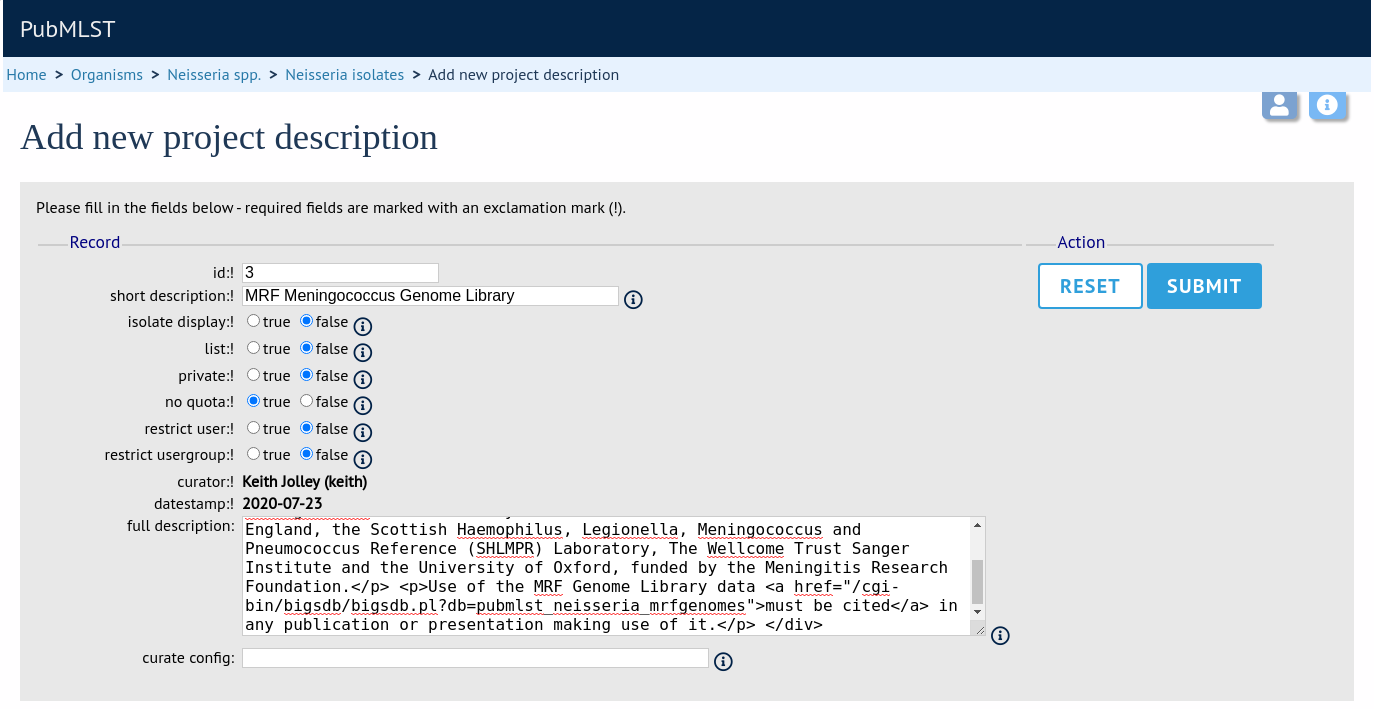
Enter a short description for the project. This is used in drop-down list boxes within the query interfaces, so make sure it is not too long.
You can also enter a full description. If this is added, the project description can displayed at the top of an isolate information page (but see ‘isolate_display’ flag below). The full description can include HTML formatting, including image links.
There are additionally two flags that affect how projects are listed:
isolate_display - Setting this is required for the project and its description to be listed at the top of an isolate record (default: false).
list - Setting this is required for the project to be listed in a page of projects linked from the main contents page.
There are a further two option flags:
private - Setting this makes the project a private user project. You will be set as the project owner and will be the only user able to access it by default. You can add additional users or user groups who will be able to access and update the project data later.
no_quota - If set, isolates added to this project will not count against a user’s quota of private records (only relevant to private projects).
Click ‘Submit’.
Explicitly adding isolates to a project
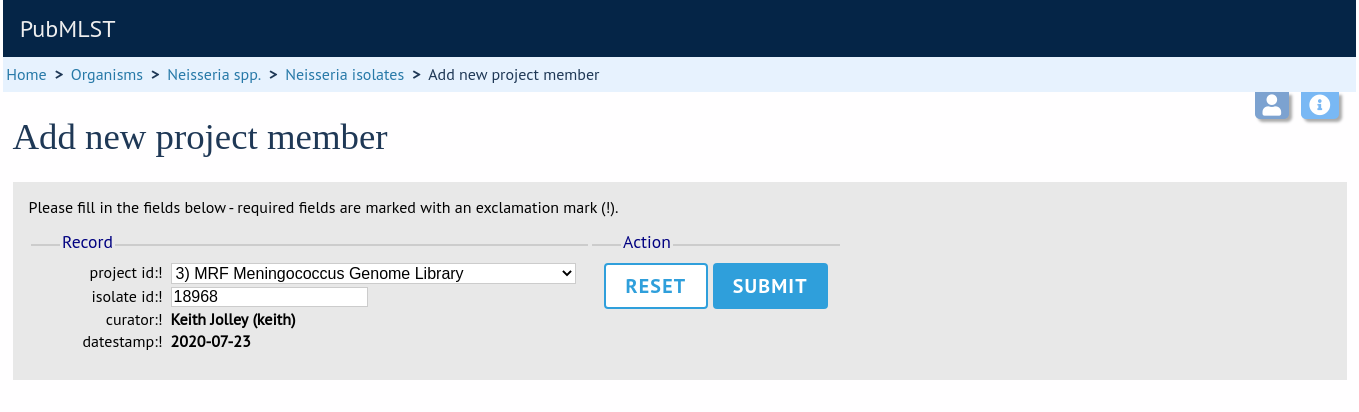
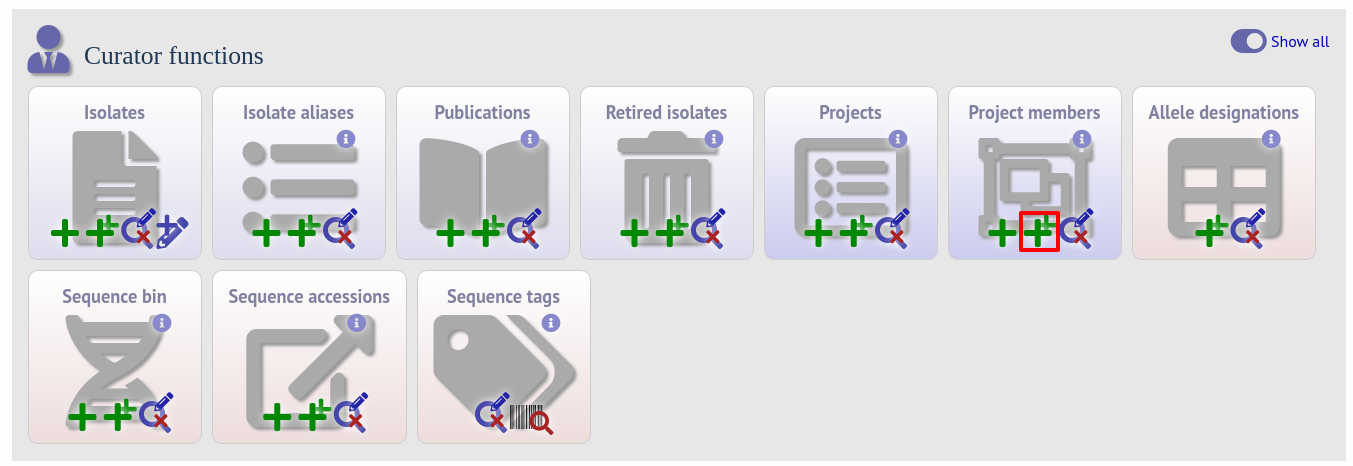
Explicitly adding isolates to the project can be done individually or in batch mode. To add individually, click the add (+) project member link on the curator’s main page. This function is normally hidden, so you may need to click the ‘All functions’ toggle to display it.

Select the project from the dropdown list box and enter the id of the isolate that you wish to add to the project. Click ‘Submit’.
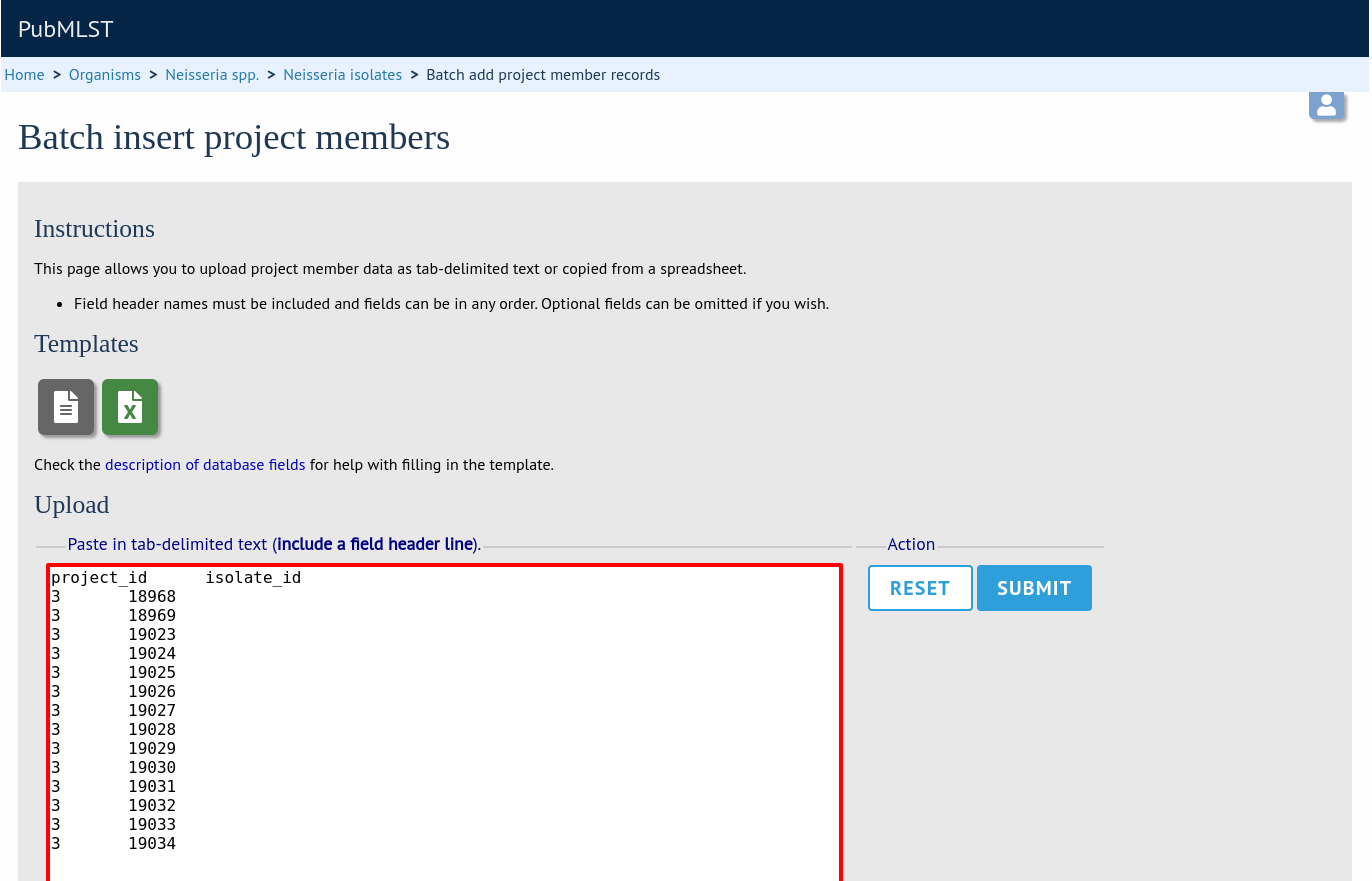
To add isolates in batch mode. Click the batch add (++) project members link on the curator’s main page.
Download an Excel submission template:
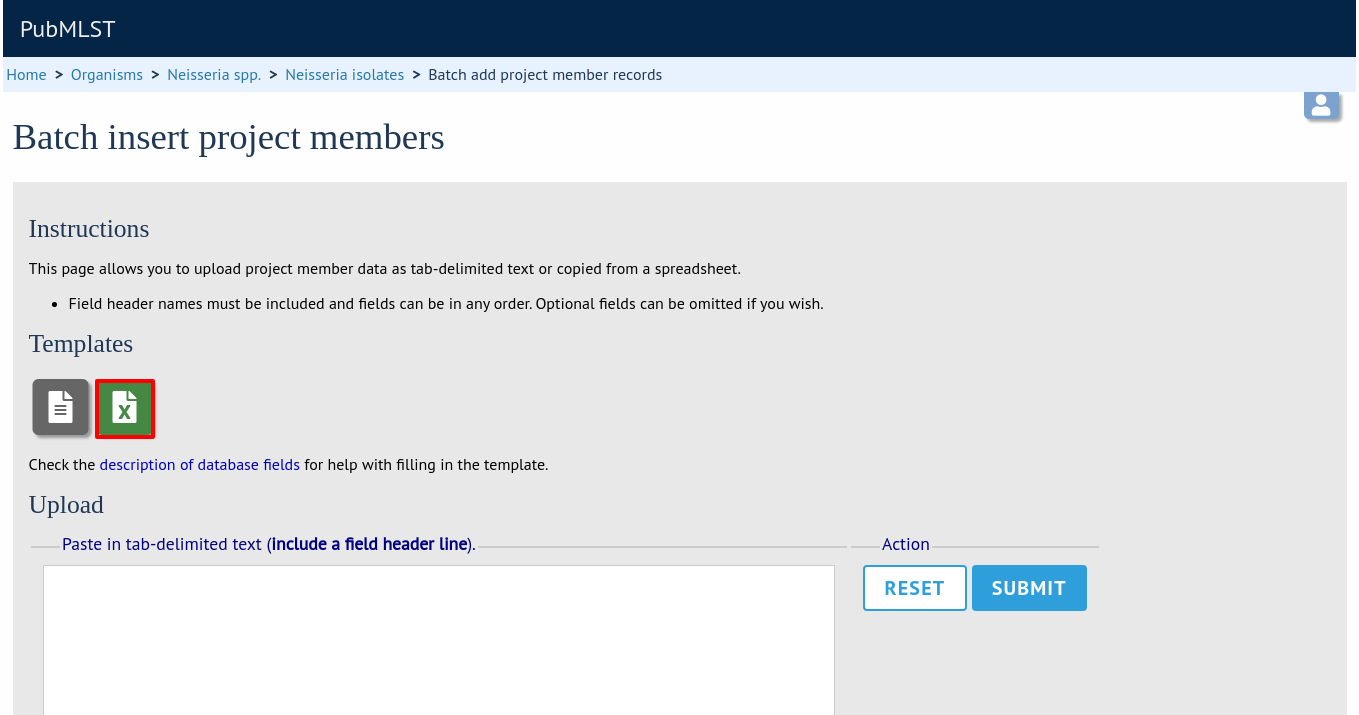
You will need to know the id number of the project - this is the id that was used when you created the project. Fill in the spreadsheet, listing the project and isolate ids. Copy and paste this to the web upload form. Press ‘Submit’.